I plugged in my sound machine the first night, set it on the dresser across the room, turned the volume up as high as it would go, picked the first sound on the dial, and promptly lay awake for an hour listening to what sounded like a very enthusiastic waterfall. I was irritated. The machine was not. After three nights of adjusting things by feel, I found a setup that worked, and I have used almost the exact same configuration every night since. That was over four months ago. If someone had just told me the four things I needed to dial in, I could have skipped those restless nights entirely. So that is what this guide is.
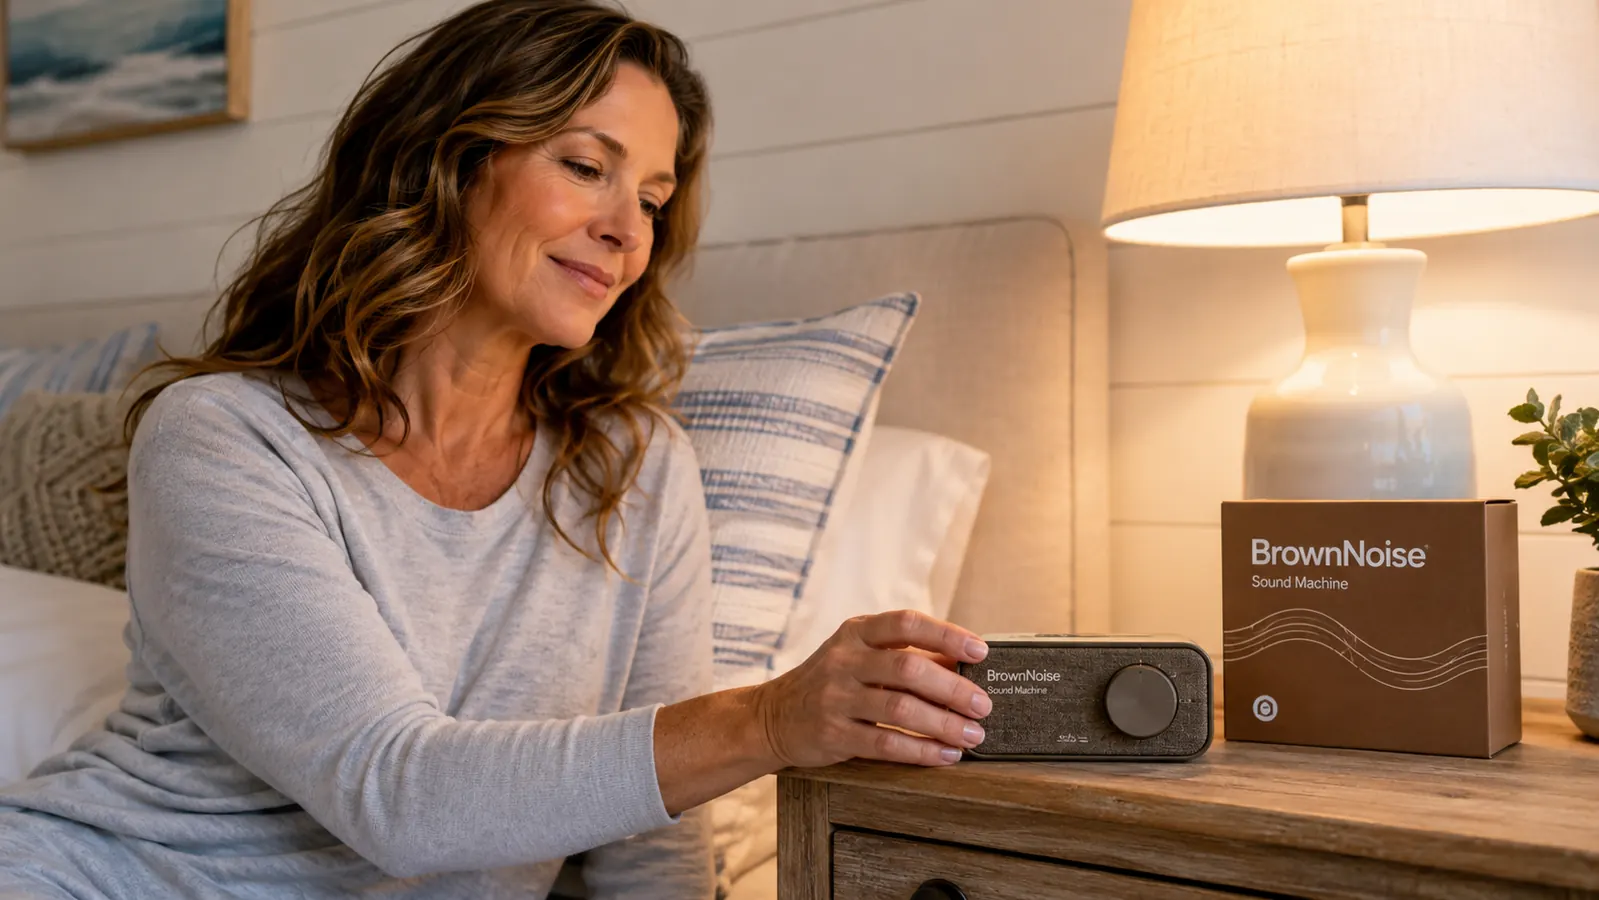
The machine I use and recommend is the BrownNoise Sound Machine, rated 4.6 stars across nearly 12,000 reviews, and priced around $18. It has 30 sounds, a 12-color night light, and a timer. It is compact enough to travel with, which matters to me because I visit my daughter in the city a few times a year and the street noise there is a different problem entirely. But setup choices matter far more than which machine you buy. A cheap sound machine placed well and tuned correctly will outperform an expensive one left on a dresser at the wrong volume.
Skip the three nights of trial and error. The BrownNoise machine I use is under $19 on Amazon right now.
Rated 4.6 stars by nearly 12,000 sleepers. Thirty sounds, a built-in timer, and a night light that actually helps if you get up in the dark. Follow the setup steps below once you have it in hand.
Amazon Check Today's Price on Amazon →Step 1: Choose the Right Spot in the Room
Placement is the single decision that makes or breaks how well a sound machine works, and almost everyone gets it wrong at first. The instinct is to put the device on the dresser or a bookshelf, somewhere out of the way. That is the wrong call. Sound attenuates with distance. By the time the machine's output travels eight or ten feet to your pillow, a lot of its masking power is already lost. You end up cranking the volume to compensate, which creates a different problem: the sound becomes the thing you notice rather than the thing that covers other sounds.
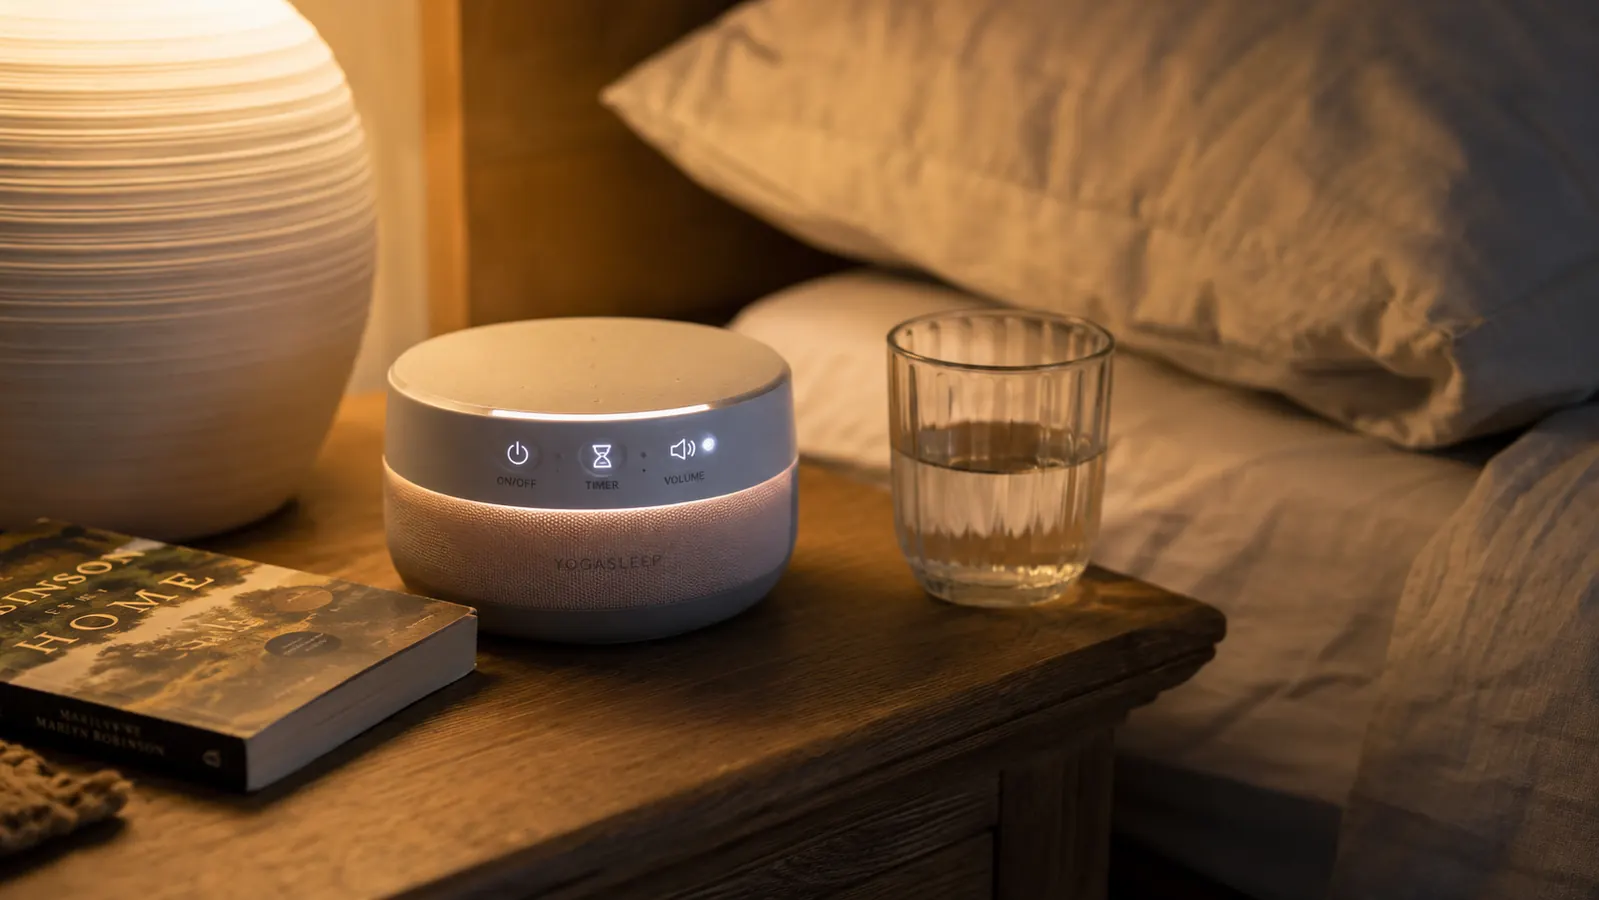
The correct placement is on your nightstand, ideally within two to three feet of your head. This keeps the volume in a comfortable range while still giving the machine enough presence to do its job. If you share a bed and your partner is a lighter sleeper than you, place the machine on the side of the nightstand closest to the noise source, which is usually the bedroom door or a street-facing window. The machine does not need to be between you and your partner; it just needs to be between you and the noise.
If your biggest noise problem is under the door, meaning hallway sounds or a partner who stays up later, angling the machine so it faces the door rather than the ceiling makes a noticeable difference. Sound machines project, they do not fill a room evenly the way overhead speakers do. Point the speaker grille toward the problem.
Step 2: Set the Volume at the Right Level
Volume is where most people overcorrect. Too quiet and the machine barely registers against a barking dog or a garbage truck. Too loud and you are essentially trading one disruptive sound for another, plus you risk a mild ringing sensation in your ears when you wake up. There is a practical middle range that works for nearly everyone, and it is lower than you probably expect.
The guideline I use, and which lines up with most sleep research I have read, is this: the machine should be audible when you are lying down and relaxed, but you should not feel like you need to raise your voice to talk to someone in the same room. For the BrownNoise machine, that typically lands at about 40 to 50 percent of maximum volume when the machine is on your nightstand two feet away. Start there on your first night. If neighborhood sounds or hallway noise are still breaking through, nudge it up in small increments rather than jumping to maximum. You want the sound to form a continuous, even wall of noise that your brain stops noticing within a few minutes.
The machine should be audible when you are lying down and relaxed, but you should not feel like you are shouting over it. That middle range is where sleep happens.
One thing that tripped me up early: I kept turning the volume higher when I could not sleep, assuming more sound would help more. That is backwards. If the machine is already in the right range and you are still awake, the problem is probably the sound choice, not the volume. Move to Step 3 before touching the dial again.

Step 3: Pick the Sound That Matches Your Sleep Problem
Thirty sounds is both a feature and a trap. You can spend twenty minutes cycling through rainstorms, campfires, ocean waves, and babbling brooks and end up more alert than when you started. My advice is to ignore most of the nature sounds for sleep purposes, at least at first. They are lovely and some people adore them, but they tend to have enough variation, a bird call here, a wave crest there, that your sleeping brain keeps half-listening. That variation is the exact opposite of what a sleep sound should do.
For straightforward noise masking, the heavy hitters are white noise, brown noise, and pink noise. White noise is the classic: a flat, even hiss across all frequencies. It covers a wide range of sounds and many people find it immediately familiar because it resembles the static sound of an old television or a fan. Brown noise, which is what this machine is named for, sits lower in pitch. It sounds like a distant waterfall or a strong wind, with more bass and less of the high, almost piercing quality that white noise can have. I switched from white to brown around week two and found it significantly easier to stay asleep through the early morning, when the fishing boats in my area start moving. Pink noise sits between the two in pitch and is the one that has the most research behind it for deep-sleep quality specifically. If you tend to fall asleep fine but wake up too early or feel unrefreshed, pink noise is worth a serious try.
Nature sounds earn their place for something other than noise masking: winding down before sleep. I use a gentle rain sound for about 20 minutes while I read, then switch to brown noise before I turn the light off. The rain is pleasant. The brown noise is what actually carries me through. If you find yourself drawn to ocean or rain sounds, use them as a transition ritual rather than your primary all-night sound.
Step 4: Set the Timer So You Are Not Running It Unnecessarily All Night
The BrownNoise machine has a built-in sleep timer with options ranging from a short session to a full overnight run. This is worth paying attention to for two reasons. First, if your noise problem is primarily falling asleep rather than staying asleep, you can run the machine for 60 or 90 minutes and let it shut off on its own. Many people find that once they are in a deeper sleep stage, moderate outside sounds stop waking them. Running the machine all night just to cover the first hour of light sleep is a habit worth breaking, particularly if you share a room and your partner would prefer silence by midnight.
The second reason to use the timer is energy and lifespan. A sound machine running eight hours a night, every night, is on for about 3,000 hours a year. That is real wear on a small device. If you can get by with four to five hours of actual sound masking per night, do it. I run mine on a 90-minute timer on quiet nights and leave it on all night when the marina is busy or when weather brings traffic noise. The machine lets you choose, which is a feature I specifically looked for and was glad to find at this price point.
For people who find the room disorienting when the sound stops, the full overnight setting is the right call. There is no wrong answer. What matters is matching the timer to your actual sleep pattern rather than defaulting to the longest option because you think more is better.
Step 5: Use the Night Light Strategically
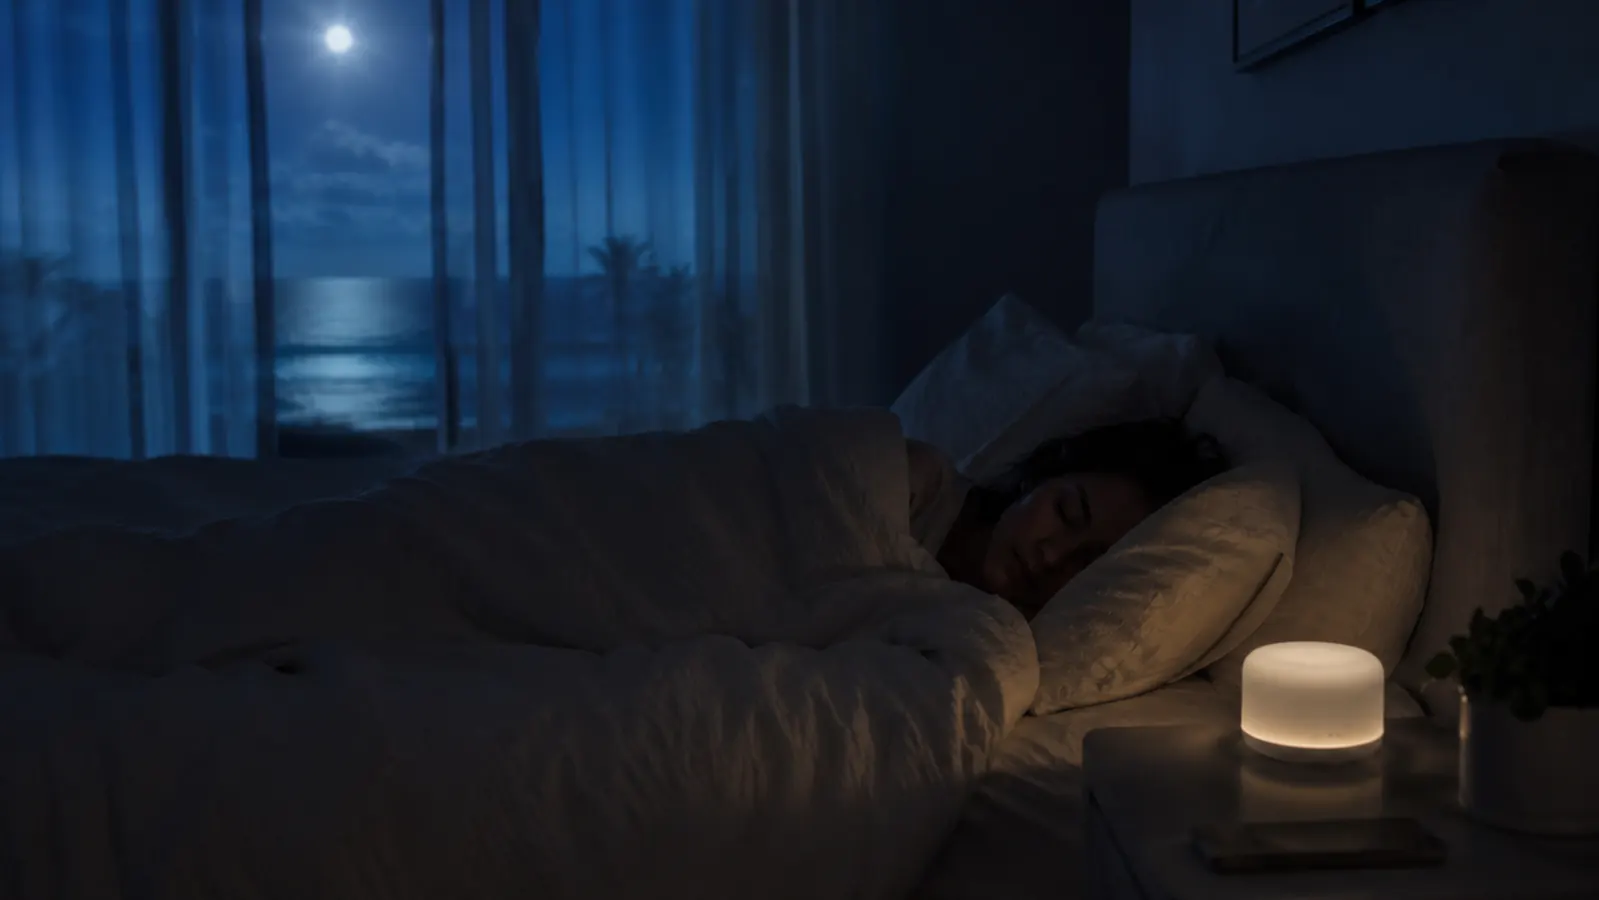
This is a step most guides skip entirely, but the BrownNoise machine's 12-color night light is genuinely useful and not just a gimmick. The key is color temperature. Blues and whites at night suppress melatonin production, which is the exact opposite of what you want when you are trying to sleep. The machine's warm amber and red settings do not carry that problem, which makes them safe to leave on dim overnight as a low-level orientation light. I keep mine on the dimmest red setting. When my dog pads in at 4 AM needing water, I can navigate without turning on any other lights, which means I stay sleepy rather than jolt awake under a bright overhead.
If you use a sleep mask and do not need any light at all, simply leave the night light off. The sound function and the light function are fully independent. But for anyone who gets up in the dark, the dim red setting is one of those small quality-of-life details that I noticed within the first week and have used every night since.
What Else Helps
A sound machine addresses one sleep disruptor: noise. If you are also dealing with light, temperature, or neck pain, no amount of brown noise will fully compensate for those separate problems. I layered in a 3D sleep mask during a stretch when early sunrise was waking me before 5 AM, and the combination of sound masking plus full darkness made a noticeable difference compared to either tool alone. I also use a cervical pillow for neck support, which removed the morning stiffness that used to make me feel almost as tired as when I went to bed. Good sleep is usually a stack of small fixes rather than one big solution.
That said, the sound machine was the single change that had the most immediate impact for me. I noticed the difference on night four. After months of restless nights, that felt like a small miracle. The steps above got me there; skipping any one of them had me back to staring at the ceiling.
If you want to read more about how this machine performed over eight weeks of nightly use in a noisy coastal neighborhood, my full long-term review covers the details I did not have room for here, including how the sounds hold up over time and what I found when I actually tested all 30. And if you are still on the fence about whether a sound machine is worth it at all, the piece on ten reasons a sound machine helps light sleepers lays out the case plainly.
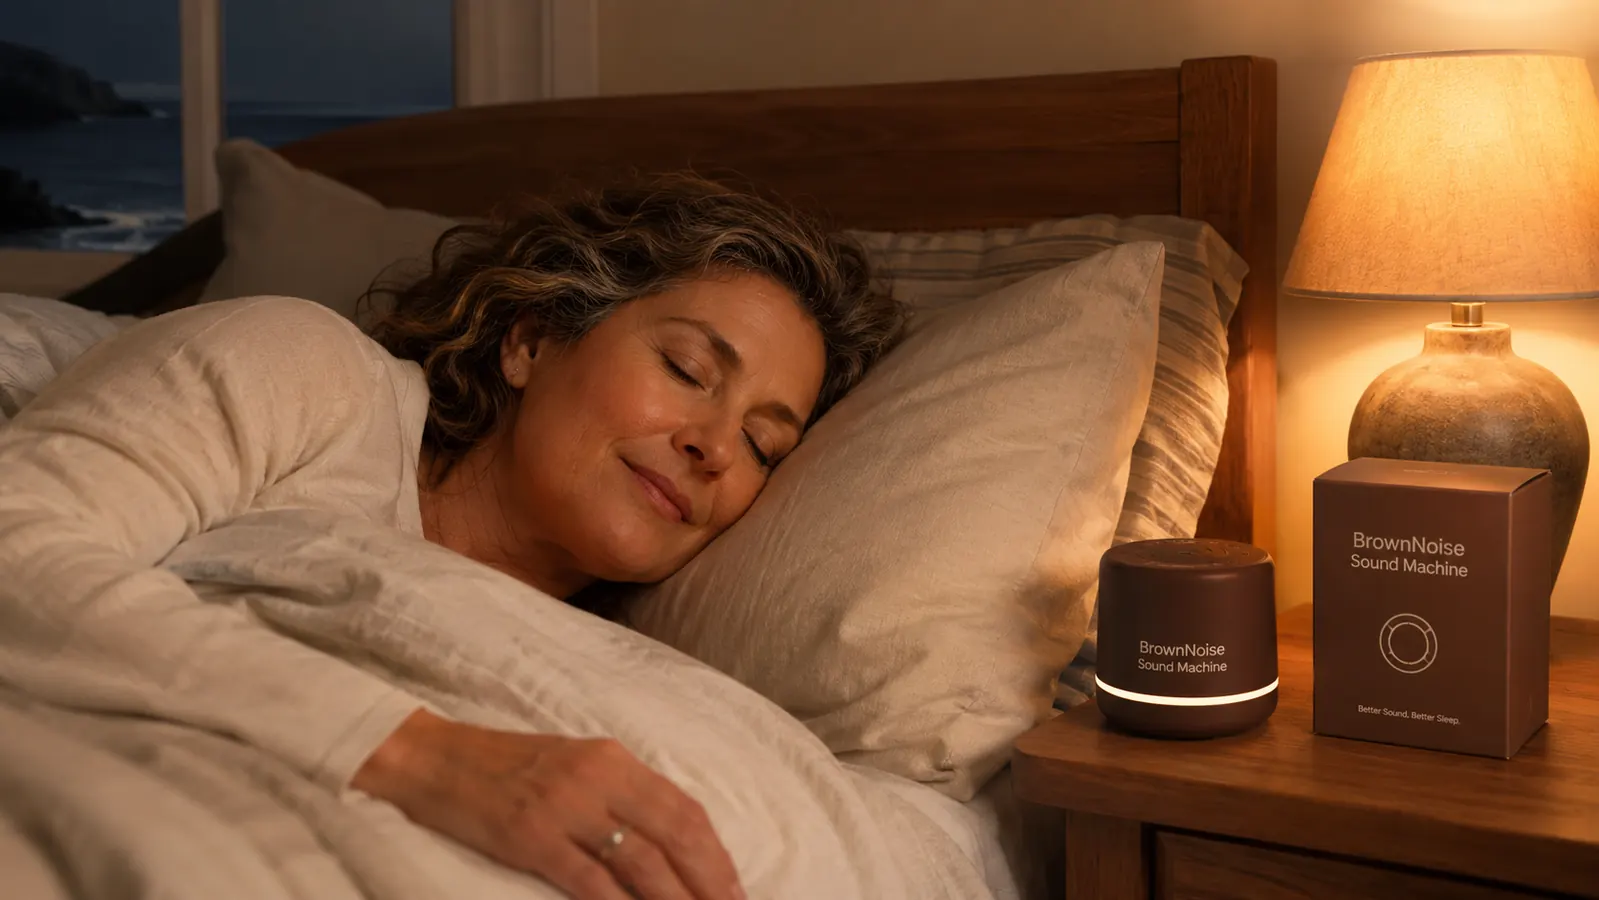
Ready to set it up tonight? The BrownNoise machine is the one I reach for every single night.
Under $19, with 30 sounds, a built-in timer, and a night light that will not wreck your melatonin. Nearly 12,000 reviews and a 4.6-star rating. Follow the five steps above and you should notice a real difference within a week.
Amazon Check Today's Price on Amazon →